Learn how to make background white in Photoshop from this step-by-step article. If you go through this article, you can make a background white within a very short time.
A white background is a sign of professionalism. Whether it’s a model’s photo or a product’s picture, the image looks professional when the background is white. For this reason, you may have tried many times to take photos on white backgrounds.
But we are sure that it turned out to be gray every time. This happens for the camera and light. Adobe Photoshop is a powerful software to make the background white. It will work great for making white environments. Photoshop, its toolbox, and the necessary functions are very helpful to edit the background. The editing functions will be applied optimally on any multimedia file. It will add white backgrounds and adjust brightness, contrast, saturation, etc., to make the pictures look more realistic.
In this article, you will know how to make background white In photoshop elements. And also, you will learn to make white backgrounds using Photoshop. So, let’s get down to the business.
Make Background White In Photoshop
Make Photo background white in Photoshop easily and perfectly. It allows you to create a seamless white background in some minutes. Furthermore, you don’t have to go through a long process for adding your expected white background since it will do the job with a few clicks.
It’s the only thing it can do; you can make the background transparent and add white backgrounds. Later you can use more functions and enhance the photos as you like. It contains an easy-to-understand interface.
When you enter it, you will see an option to create a white backdrop. Click upon the option and, using the function, get a white background added to any image. But before that, make sure to get your background transparent.
Make Background White Using Levels Adjustments
If you have Adobe Photoshop installed on your computer and got white backdrops using it, we can help you with it too. Getting a plain white background with Photoshop has become a simple task indeed. There are two various methods you can try for it.
One is by adjusting the color levels of images, and another uses the Selection tool. We will first walk you through the step-by-step process of changing color levels. This process works best when the photo contains no complicated background and is pretty simple to follow.
The goal is to desaturate the image background to turn it white through color adjustments. So without further ado, let’s jump right in.
Step 1. Adjust Levels Sliders
You need to click on “Image,” located in the menu at the top, to adjust the levels. Now, click again on “Adjustments > Levels.
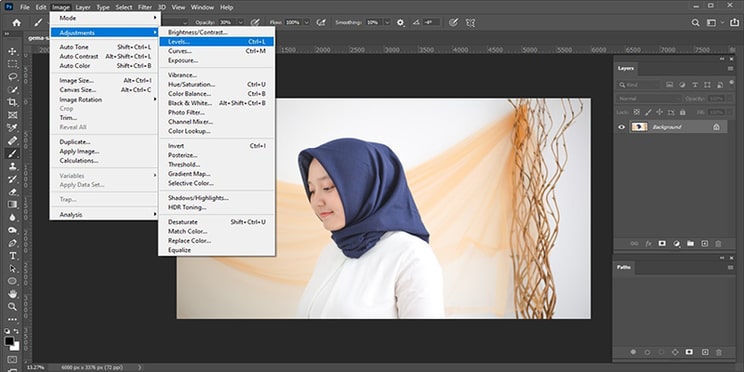
It will open an adjustment slider containing 3 tabs. Each is for one primary color channel. You have to keep adjusting through the Levels Sliders until the photo backdrop is turned into plain white.
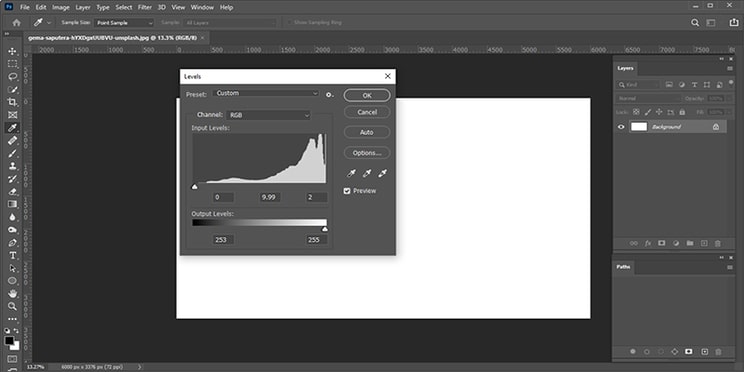
Some pictures will require all the Level Sliders adjusted to 0. But remember, when the Levels Sliders are changed, it will desaturate the whole image. However, in steps ahead, we will get the ways to fix the problem.
Step 2. Add on A Layer Mask
Now you will see your selected photo with a white background on your computer screen. But you need to add the image subject back into its place in the picture. To do this, your next job is to make a layer mask. It’s simple; you have to duplicate the original photo layer. Then reorder the layers to your layers panel to reveal the duplicate photo layer.
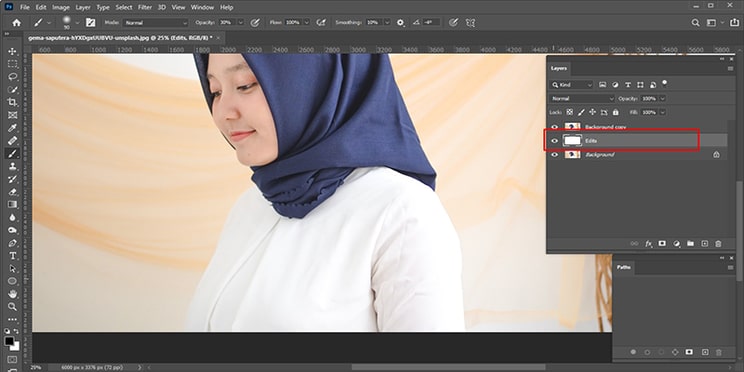
Our goal is to get the Layer that contains the edited white backdrop. Label it as “Edits” and sit it between the original and duplicate Layer of an image in the Layers’ panel.

Now add to the topmost Layer a layer mask. Choose the gray square shape icon with a circle in its middle. You will find it at the layer panel’s bottom area.
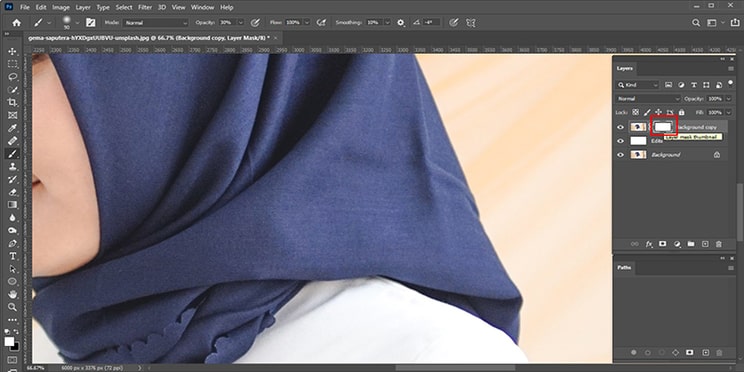
You will see on the screen a white layer after adding a layer mask accurately.
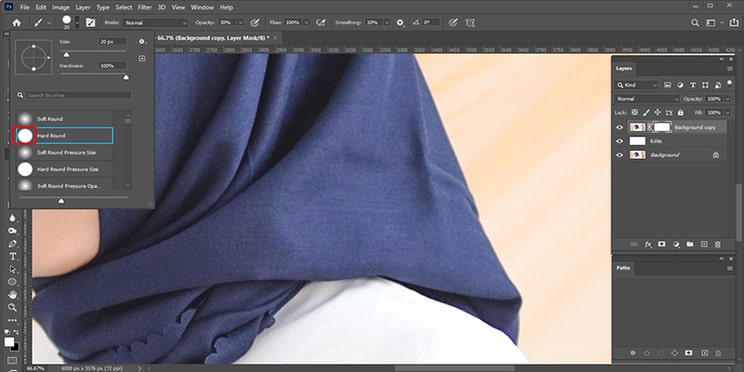
The mask will let us paint the duplicate photo layer portions and reveal the hidden Layer under them. The Layer under the mask is the image layer we have desaturated. Pick the Hard Round Brush from the Brush Tools Panel in Photoshop or press B on the keyboard. Set 100% opacity.
Step 3. Paint The Background
It’s time to paint, and you need to paint the layer mask with black color. Paint the backdrop properly, but keep the brush away from the image subject. Remember, our goal is to change the background and not the subject.
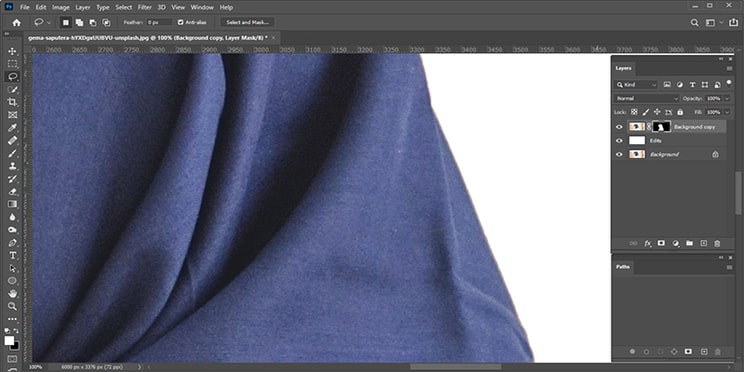
It would be best if you zoom in and reduce the size of the brush paint thoroughly. If this seems complicated to you, there is another simple way you can approach it. Just add a new layer and fill it with white paint and tada! You have got your white background. To save the final output, press on Ctrl + S.
Make Background White Using Selection Tools
When it’s about having precise edits, the selection tools work best. Besides, it’s not hard enough to get a white background using it. So let’s know the simple steps to get a white background using Selection Tools.
Step 1. Mask the Backdrop
Import the image you want to add a white backdrop to in Photoshop. Then select the option named Select and Mask.
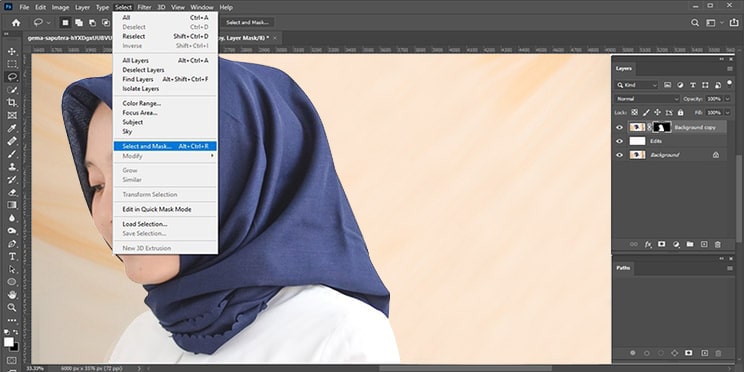
Open the sidebar and pick the drop-down to choose a viewing mode. Pick Overly viewing mode to see the edits and differences.
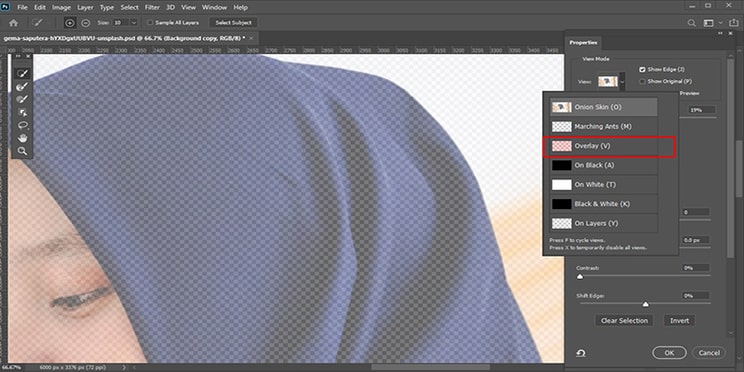
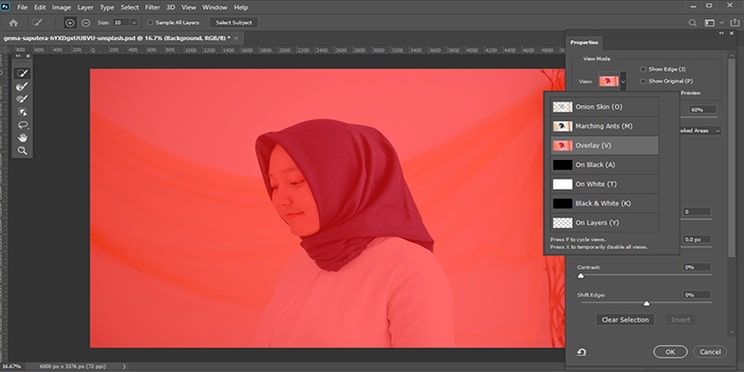
It will cast red color on the whole image.
Step 2. Pick the Photo Subject
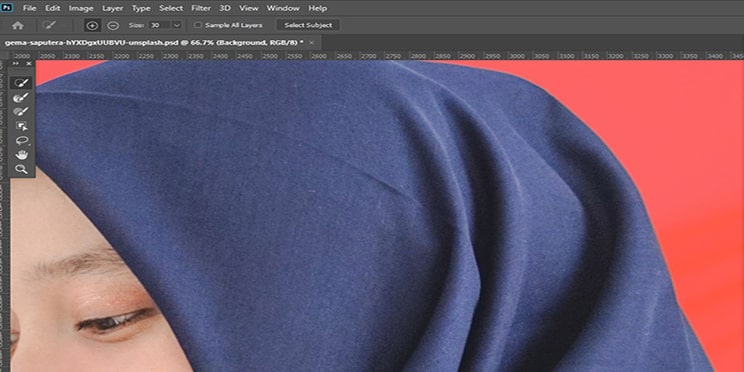
With the help of the Quick Selection tool, you now have to paint the image’s subject. Click on the cursor and drag it over the subject to choose your subject.
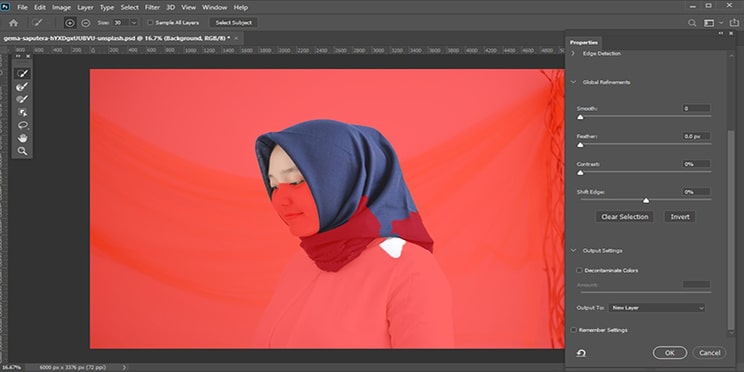
In this procedure, the Quick Selection Tool by itself will pick similar pixels through its AI pixel detector. Paint the image subject. To make the edges look sharper, use the function named “Refine Edge Tool” that you will find in the sidebar located at the left corner.
After you are done painting the subject, ready the output for Photoshop’s main window. Press the output To > New Layer with Layer Mask.
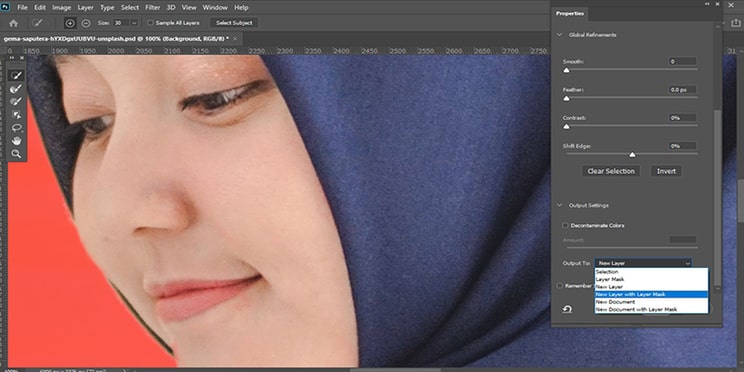
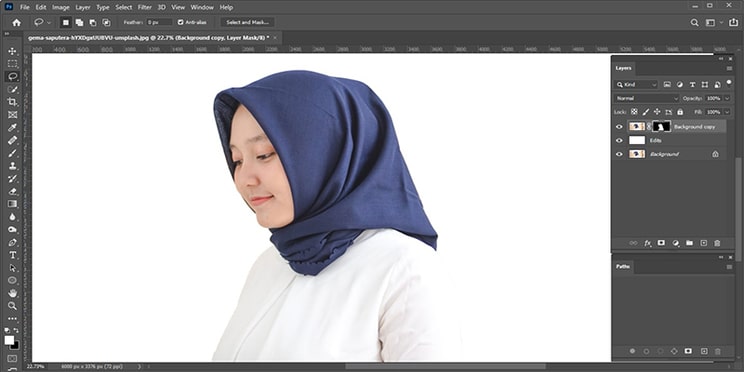
Next, you will find the image subject only opened on the new Layer with no background.
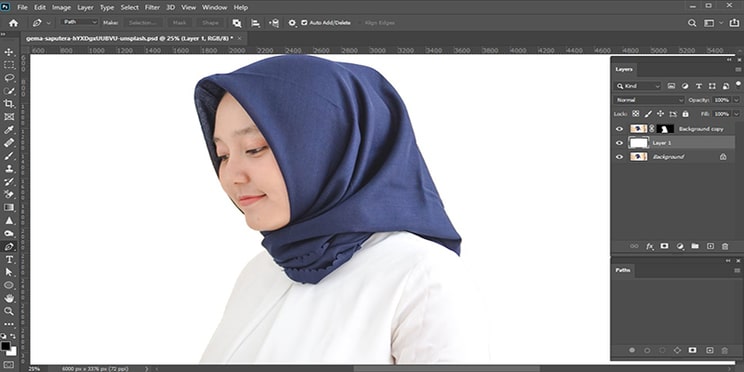
Step 3. Attach a White Background
You have your subject on the screen with the eliminated background. It means you can now add a white backdrop behind the image subject. To do this, select Layer> New Layer and create a new layer. Next, pick the white paint and by using the Fill Tool, start painting the background white. A white background will be added to the image when the painting is finished.
FAQs
Why is white background necessary?
Should I use white background?
Does a white background increase sales?
Why does my white background look grey?
First, you can remove the original grey backdrop and add a seamless white background through our background editor.
Final Words
Learn how to make background white in Photoshop 2021 from this article and make your image’s background white within a few minutes. When making your background white is just one click away, why would you waste time on other applications? An expert background editor will take only a few minutes and add white backgrounds to any image you pick.
You can also contact us to add white backdrops to over a hundred or thousand photos because it will cause you to spend a lot of time while our experts will take a while to finish the job. We are one of the best and most Well-renowned Photoshop services providers. So, if you need further image edits on numerous photos, contact us today. We provide quality work without costing you less.